In today’s fast-paced supply chain environment, businesses need dependable storage systems that protect inventory while enabling smooth operations. Secure and reliable warehousing solutions play a critical role in maintaining product quality, reducing losses, and supporting consistent order fulfillment. With structured processes and advanced infrastructure, modern warehouses help organizations stay agile, scalable, and competitive. Solutions such as Ottawa warehousing storage reflect how well-planned facilities can support efficient inventory management while maintaining high safety standards.
Advanced Security for Complete Inventory Protection
A strong warehousing strategy begins with security. Modern warehouses are designed to safeguard goods at every stage, ensuring peace of mind for businesses handling valuable or sensitive inventory.
Key security features include:
- Controlled access points with monitored entry and exit
- 24/7 surveillance systems for continuous oversight
- Fire prevention measures and emergency response protocols
- Organized storage layouts to minimize handling risks
These measures help maintain inventory integrity and reduce the chances of damage, loss, or disruption.
Streamlined Inventory Management Systems
Efficient inventory management depends on accurate tracking and organized storage. Reliable warehousing solutions integrate smart systems that enhance visibility and control across stock levels.
Benefits of optimized inventory management include:
- Real-time stock monitoring for better decision-making
- Reduced overstocking and stockouts
- Faster picking, packing, and dispatch processes
- Improved space utilization for cost efficiency
With structured workflows, businesses can manage inventory more effectively and respond quickly to changing market demands.
Scalable Storage to Support Business Growth
As businesses grow, their storage requirements evolve. Secure warehousing solutions are designed with scalability in mind, allowing organizations to expand operations without disruption.
Flexible storage advantages include:
- Adjustable racking systems for diverse product sizes
- Seasonal storage options to handle demand fluctuations
- Custom layouts that align with operational goals
- Long-term adaptability for future expansion
This flexibility ensures that warehousing remains a growth enabler rather than a limitation.
Operational Efficiency Through Smart Design
Well-designed warehouses enhance productivity by minimizing movement, reducing handling time, and supporting smoother workflows. Strategic layouts and clear processes allow teams to work efficiently while maintaining accuracy.
Operational improvements often include:
- Faster order processing and turnaround times
- Reduced labor strain through optimized layouts
- Consistent inventory accuracy across operations
- Enhanced coordination between storage and distribution
These efficiencies contribute directly to better customer satisfaction and stronger supply chain performance.
A Foundation for Long-Term Success
Secure and reliable warehousing solutions are more than storage spaces they are strategic assets. By combining security, efficiency, scalability, and smart inventory management, businesses can build resilient operations that support long-term success. Investing in the right warehousing approach ensures stability today while preparing organizations for tomorrow’s opportunities.

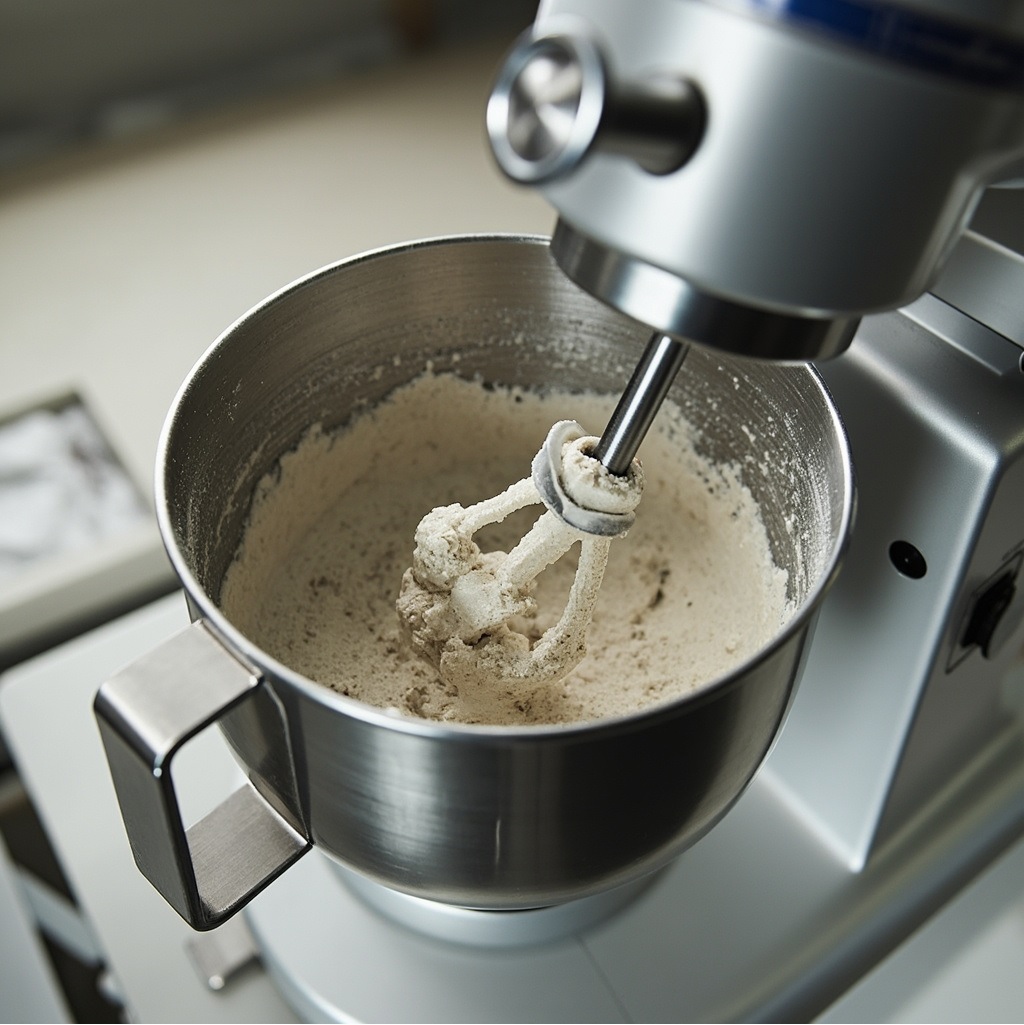 You are standing on a factory floor, staring at two very different machines. One spins a paddle on its own axis while the entire assembly rotates around the bowl. The other has a fixed drum that tumbles the material like a slow-motion washing machine. Both are called mixers. Both can handle castable materials. But if you pick the wrong one, you will be scraping half-cured concrete off your tools by lunchtime, and your batch will fail the flow test.